
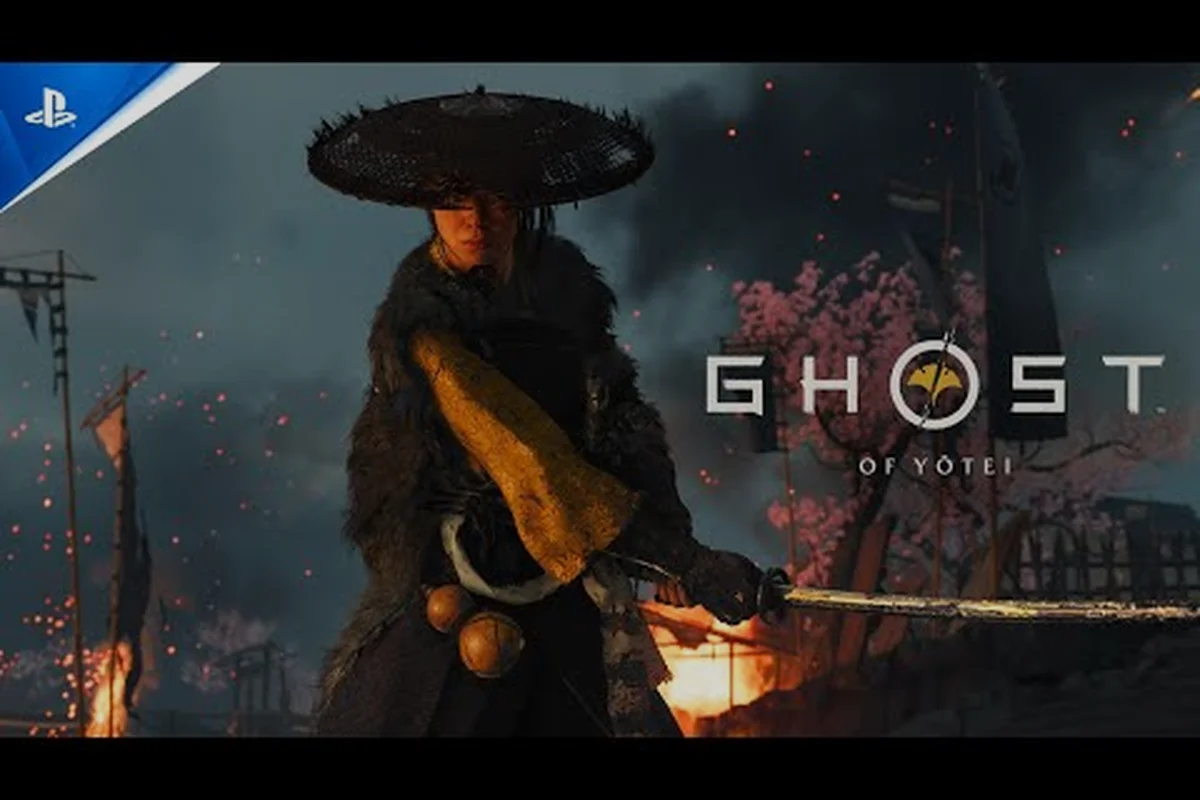
Finding the right defensive gear in 1603 Ezo is the difference between surviving a brutal ambush and waking up at a checkpoint. This Ghost of Yotei armor guide breaks down every set, base stat, and perk so you can build for stealth, duels, or open combat. Because each piece carries unique effects and upgrade paths, knowing what to invest in early saves rare crafting materials and keeps Atsu alive against the Yotei Six.
Core Armor Mechanics and Equip Load
Understanding how defensive layers actually function is the first step in mastering any build. Unlike traditional action games where heavier plating simply equals better protection, Sucker Punch implemented a dynamic system where your equip load directly influences Atsu's mobility, dodge speed, and parry windows. According to the official PlayStation game page, armor sets each carry unique perks, and appearance can be fully customized with dyes. This means your fashion choices never lock you out of optimal stats.
Weight Classes and Mobility Tiers
Your total equip weight determines which mobility tier you currently occupy. These tiers dictate your base dodge invulnerability frames and how quickly you can chain a parry into a counterattack. Heavier sets might keep you alive during a mistimed block, but they severely punish reactive playstyles. When fighting the Yotei Six, you can learn more about the specific boss mechanics and recommended encounter order in our Yotei Six boss breakdown, which pairs well with an optimized defensive loadout.
| Weight Class | Equip Load Range | Dodge Speed | Parry Window | Stamina Drain |
|---|---|---|---|---|
| Light | 0 - 25% | Very Fast | Generous | Low |
| Medium | 26 - 50% | Standard | Balanced | Moderate |
| Heavy | 51 - 75% | Slow | Tight | High |
| Ultra Heavy | 76 - 100% | Very Slow | Punishing | Severe |
Charm Synergy and Slot Expansion
Beyond physical armor, players must manage Charms to fine-tune their defensive stats. Major Charms are earned from Shrines, while following foxes to Inari Shrines rewards you with additional minor charms. Charm slots expand as you progress through the main story, allowing you to stack a build for stealth, duels, or open combat. If you want a deeper look at how these accessories interact with your gear, check out our dedicated charm loadout guide for slot optimization strategies.
Base Game Armor Sets and Stats
The base game features a diverse array of protective gear suited for different combat scenarios. From the starting ronin rags to specialized duelist garb, every set can be dyed and upgraded at a blacksmith. To help you plan your progression, here is the complete Ghost of Yotei armor list, detailing base defense values and the unique perk each set provides.
| Armor Set | Base Defense | Unique Perk | Best Playstyle |
|---|---|---|---|
| Ronin Tatters | 12 | Reduces detection speed in tall grass | Stealth |
| Kikko Chainmail | 28 | Restores stamina on perfect parry | Balanced |
| Sohei Vestments | 35 | Increases bow damage at full health | Ranged |
| Tosei Gusoku | 42 | Reduces incoming melee damage by 10% | Tank |
| Shrine Maiden Garb | 18 | Increases Resolve gain from kills | Hybrid |
Early Game Defensive Priorities
During the opening hours, Ronin Tatters will carry you through most encounters, but the low base defense becomes a liability once you reach the snow-covered regions. Upgrading this set at a blacksmith requires common iron and leather, making it a cheap but temporary investment. Players report that swapping to Kikko Chainmail around the second region provides a massive survivability spike because the stamina restoration on perfect parry allows for aggressive counterattacking against groups of enemies. If you are struggling with weapon compatibility during these early hours, reviewing the weapon mastery paths can help you match your blade to your defensive tier.
Mid to Late Game Transitions
As you approach the final bosses, raw defense matters less than specialized perks. The Tosei Gusoku is heavily favored for open combat because its flat melee damage reduction stacks multiplicatively with heavy armor upgrades. However, its weight pulls you into the Heavy mobility tier, demanding a more deliberate, block-focused playstyle. The Sohei Vestments, on the other hand, reward players who maintain full health through precise dodging, offering a high-risk, high-reward ranged build that trivializes certain encounters.
Post-Game Armor Tiers and Currency
Once you finish the main campaign and roll into New Game+, the gear landscape changes dramatically. The Ghost of Yotei armor sets available in NG+ introduce two entirely new upgradeable sets purchased using a unique currency called Soul Flowers. These premium sets are designed to handle the increased enemy aggression and modified damage values found in the second playthrough loop.
Soul Flower Acquisition
Soul Flowers are rare drops obtained from defeating upgraded versions of the Yotei Six and clearing new world events called Echoes of Sekigahara. Because this currency is strictly limited per playthrough cycle, you cannot farm it infinitely, which makes choosing which NG+ set to invest in a critical strategic decision. Players must decide whether they want to double down on extreme tankiness or push for absolute stealth optimization. The Complete Edition of the game also includes exclusive armor content like The Snake Armor and a Digital Deluxe Armor Dye, giving players immediate access to premium cosmetics even before hitting NG+.
NG+ Armor Comparison
When evaluating the NG+ options, the core question is whether you want to enhance survivability or maximize stealth utility. Below is a comparison of the two New Game+ sets to help you decide where to spend your hard-earned Soul Flowers.
| NG+ Armor Set | Soul Flower Cost | Enhanced Perk | Mobility Tier |
|---|---|---|---|
| Onryo Shroud | 45 | Doubles ghost stance duration | Light |
| Yotei Bulwark | 60 | 25% chance to negate lethal damage | Heavy |
The Onryo Shroud is perfect for players who want to chain massive kill streaks without dropping their combo, extending the invincibility window of ghost stance to clear entire camps in seconds. Conversely, the Yotei Bulwark acts as an insurance policy, giving heavy-build players a second chance against bosses that would otherwise one-shot them. For a full breakdown of how these sets stack up against each other visually and statistically, you can review the armor perks comparison which details the math behind every set.
Upgrade Paths and Material Farming
Maximizing your defensive capabilities requires a deep understanding of the upgrade system. Ghost of Yotei armor upgrades follow a tiered path at the blacksmith, consuming increasingly rare materials found across the map. Each upgrade level increases the base defense of the gear and occasionally enhances the unique perk's effectiveness, making it vital to know where to allocate your resources.
Blacksmith Forge Levels
Every blacksmith in Ezo can upgrade your gear up to a certain level cap, which is tied to the region's difficulty. You cannot fully upgrade a late-game set in the starting zone, forcing you to explore the map and progress the story to access master blacksmiths. The upgrade process follows a strict material curve that scales exponentially, meaning early levels are cheap, but maxing out a set requires dedicated farming sessions.
| Upgrade Level | Primary Material | Secondary Material | Stat Increase |
|---|---|---|---|
| Rank 1 | Iron Ore | Leather | +5 Defense |
| Rank 2 | Steel Ingots | Silk | +8 Defense |
| Rank 3 | Tamahagane Steel | Linen | +12 Defense |
| Rank 4 | Onyx Shards | Horn | +15 Defense |
| Rank 5 | Yotei Obsidian | Demon Horn | +20 Defense |
Resource Management Tips
Farming Tamahagane Steel and Yotei Obsidian is the biggest bottleneck for players trying to reach max rank. Community data suggests that the best way to farm high-tier materials is by liberating Mongol strongholds, as these locations frequently contain high-level resource caches and hidden blacksmith blueprints. Always prioritize upgrading your primary combat set first before investing in situational gear. If you want to change your look without spending rare materials, check out the armor dye guide to learn how to customize appearances cheaply.
Build Synergies and Playstyle Optimization
Choosing the Ghost of Yotei best armor is highly dependent on your preferred approach to combat. A set that excels in open skirmishes might fail miserably during a tense duel against a boss. By combining the right armor perks with specific weapon types and charms, you can create devastating synergies that trivialize the game's hardest content.
The Ultimate Stealth Build
For players who prefer to strike from the shadows, the Ronin Tatters fully upgraded and paired with the NG+ Onryo Shroud creates an unstoppable assassin loadout. This combination reduces detection speed to nearly zero and doubles your ghost stance duration, allowing you to chain stealth kills across an entire outpost without ever drawing a blade. To maximize this build, equip charms that increase movement speed while crouching and reduce the Resolve cost of ghost stance activation. This synergy lets you clear forts silently, preserving health and stamina for the inevitable boss confrontation at the end of the mission.
The Tank Duelist Build
If you prefer to face enemies head-on, the Tosei Gusoku combined with the Yotei Bulwark turns Atsu into an immovable object. This heavy setup relies on a tight parry window, but the payoff is massive. When you perfectly time a block, the stamina restoration from the Kikko perk (if used as a secondary charm effect) combined with the flat damage reduction means you can absorb hits that would normally break your guard. This is especially effective against heavy-hitting bosses like Lord Saito, allowing you to trade blows safely and chip away at their health bar without retreating.
Frequently Asked Questions
What is the best armor for beginners?
The Kikko Chainmail is the best starter set because it restores stamina on perfect parry, allowing new players to learn enemy attack patterns without running out of energy. You can purchase it from the first region blacksmith using basic iron and leather gathered from early game camps.
How do I unlock the New Game+ armor sets?
You must complete the main story once to unlock New Game+ mode. Once in NG+, defeat the upgraded Yotei Six bosses to collect Soul Flowers, which can be traded at the hub city blacksmith for the Onryo Shroud or the Yotei Bulwark sets.
Can I change the appearance of my armor without changing stats?
Yes, you can freely dye and customize your armor's appearance without affecting its stats or perks. According to the official PlayStation page, each armor set retains its unique perks while allowing full visual customization through the dye system, so you can run optimal builds from the Base Game Armor Sets or New Game+ Sets without compromising your preferred look.
Is the Complete Edition armor worth buying?
The Complete Edition includes The Snake Armor and an exclusive Digital Deluxe Dye. While the cosmetic dye is purely visual, the Snake Armor offers a unique perk that poisons attackers on hit, making it highly viable for aggressive melee builds.
How many armor sets are in the game?
Ghost of Yotei features five base game armor sets available in a first playthrough, plus two New Game+ sets purchased with Soul Flowers. The Complete Edition adds exclusive cosmetic variants like The Snake Armor and a Digital Deluxe Armor Dye, bringing the total collection higher for players seeking every unique perk and appearance option.