
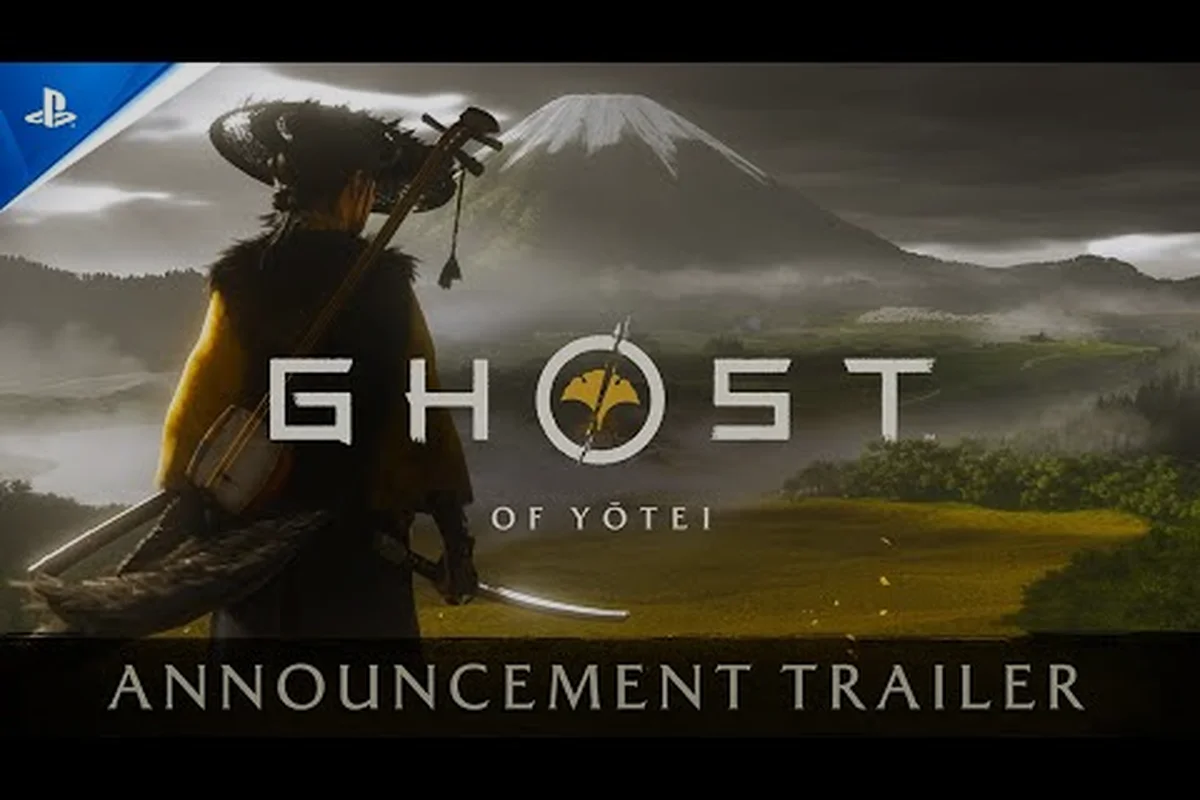
The Ghost of Yotei Mount Yotei climb is one of the most rewarding vertical challenges in Sucker Punch's open-world sequel, and knowing the right route makes the difference between a frustrating scramble and a triumphant summit view. The mountain dominates the skyline of Ezo, and its snow-capped peak serves as both a navigation landmark and a test of your exploration toolkit. Because the climb demands a mix of grappling hook precision, stamina management, and route knowledge, players who prepare properly will unlock some of the best vantage points in the entire region.
The climb matters because the summit grants access to high-altitude vantage points that reveal fast travel locations across the northern map, plus a hidden shrine that many players miss on their first attempt. Whether you are hunting collectibles or simply want the best screenshot in the game, mastering this ascent is a core part of the maps experience. Discover the exact path, the gear you need, and the shortcuts that veteran players use to cut the climb time in half.
Understanding the Mount Yotei Climb Route
The Ghost of Yotei Mount Yotei climb starts from the Toya Caldera basin and works upward through three distinct elevation bands, each with its own environmental hazards and platforming requirements. The lower band is a gentle forested slope, the middle band transitions into rocky scree fields, and the upper band becomes a sheer ice-and-rock face that demands every tool in your arsenal. Understanding this vertical progression is essential because the game gates certain sections behind story progression, and attempting the full climb too early will leave you stuck at a ledge you cannot reach.
The climbing mechanics themselves build on the foundation established in Ghost of Tsushima, but the grappling hook adds a new dimension to vertical traversal. You can now zip to marked anchor points that glow with a subtle white shimmer, and these anchors are placed strategically along the mountain's most challenging faces. According to the official PlayStation page for the game, the grappling hook lets you scale cliffs and reach high vantage points across Ezo, which makes it the single most important tool for this particular ascent.
The Three Elevation Bands
Each band of the mountain presents unique challenges that require different approaches, and knowing what to expect before you start climbing will save you from unnecessary deaths and backtracking.
The lower forest band runs from the base camp to the first snow line, and it is mostly a matter of following the winding trail while dealing with scattered patrols. This section teaches you the basic climbing rhythm, and the game's guiding wind system points you toward the next anchor point when you get disoriented. The middle scree band is where the real climbing begins, with crumbling rock faces that require careful stamina management and frequent grappling hook use to cross gaps. The upper ice band is the true test, combining narrow ledges, brutal wind gusts that drain your stamina faster, and the highest concentration of anchor points in the entire game.
| Elevation Band | Elevation Range | Primary Hazard | Key Tool | Estimated Time |
|---|---|---|---|---|
| Lower Forest | Base to 400m | Enemy patrols | Standard climb | 10-15 minutes |
| Middle Scree | 400m to 800m | Crumbling rock | Grappling hook | 20-25 minutes |
| Upper Ice | 800m to Summit | Wind gusts, ice | Grappling hook + upgraded stamina | 30-40 minutes |
The elevation ranges and times are based on community testing from the first week after launch, and they assume you have the standard stamina bar without any upgrades. Players who invest in stamina upgrades early will shave significant time off the upper band, which is why the climb is often recommended as a mid-game activity rather than an early-game goal.
Lake Toya and the Starting Point
The Ghost of Yotei Lake Toya location serves as the primary staging ground for the mountain climb, and understanding the lake's geography is the first step toward a successful ascent. Lake Toya is a caldera lake formed by volcanic activity, and it sits at the base of Mount Yotei on the western side of the map. The lake's shoreline is dotted with small fishing villages, and the main approach to the mountain starts from the northeastern shore where the terrain begins to rise.
The Ghost of Yotei Lake Toya location is not just a scenic backdrop; it is also home to several fast travel points that make repeat climbs much more manageable. The Toya Shore fast travel point is the most convenient starting location, placing you within a two-minute run of the first climbing anchor. A second fast travel point sits at the Caldera Rim camp, which is higher up and cuts the initial approach time significantly if you have already unlocked it.
| Fast Travel Point | Location | Distance to First Anchor | Unlock Condition |
|---|---|---|---|
| Toya Shore | Northeast lakeshore | 2 minutes | Discover on arrival |
| Caldera Rim Camp | Western rim above lake | 30 seconds | Clear the bandit camp |
| Yotei Base Camp | Forest trail start | 5 minutes | Story progression |
The Ghost of Yotei fast travel points around the lake are critical for efficient farming runs, because the summit vantage point reveals several other fast travel locations that you cannot see from ground level. According to community reports, the summit vantage point alone unlocks three additional fast travel points on the northern slopes, which makes the initial climb a worthwhile investment even if you never plan to repeat it.
According to the Ghost of Yotei Wikipedia entry, the climb up Mount Yotei serves as a central gameplay and narrative mechanic, with the mountain's real-world geography directly informing the game's open-world traversal and exploration systems.
Preparing for the Ascent
Before you attempt the Ghost of Yotei how to climb the mountain question becomes a practical concern, you need to make sure your gear and upgrades are ready for the challenge. The climb does not require combat prowess, but it does demand specific upgrades that many players overlook in favor of combat-focused builds.
The stamina upgrade is the single most important investment for this climb, because the upper ice band has several sections where you must chain three or four grappling hook swings without touching solid ground. The grappling hook upgrade that reduces the cooldown between swings is the second priority, as it lets you recover from a missed anchor point without falling all the way back to the previous ledge. The traveler's outfit is also worth wearing for the climb, because its set bonus reduces stamina drain during climbing activities.
-
Stamina upgrades: Prioritize these before attempting the upper band; two upgrades are enough for the full climb.
-
Grappling hook cooldown: The reduced cooldown upgrade turns near-misses into recoverable mistakes.
-
Traveler's outfit: The stamina drain reduction is noticeable over a 30-minute climb.
-
Healing supplies: Pack at least five healing items for fall damage and wind gust encounters.
-
Fast travel unlocks: Unlock the Caldera Rim camp before starting to save time on repeat attempts.
Players who have already invested in the New Game Plus guide will find that their carried-over upgrades make the climb significantly easier, since the stamina and grappling hook upgrades transfer into the new playthrough. The climb is designed to be challenging but fair, and the game's checkpoint system means you will never lose more than a few minutes of progress when you fall.
Grappling Hook Routes and Anchor Points
The Ghost of Yotei Mount Yotei climb relies heavily on the grappling hook anchor network, and knowing the exact placement of these anchors is the difference between a smooth ascent and a frustrating series of falls. The anchors are placed in a zigzag pattern up the mountain face, which forces you to alternate between vertical climbs and horizontal traversals. This design choice keeps the climb engaging while also preventing you from simply spamming the grapple button to reach the top.
The first major anchor sequence starts at the Scree Overlook, where you will find three anchors arranged in a triangle pattern. The optimal route is to grapple to the left anchor first, then swing to the right anchor, and finally pull yourself up to the top ledge. This sequence requires precise timing because the middle anchor has a narrow activation window that closes if you hesitate for more than a second. Community testing has confirmed that the window is approximately 1.5 seconds, which gives you just enough time to line up your next swing.
| Anchor Sequence | Anchors Used | Difficulty | Common Mistake |
|---|---|---|---|
| Scree Overlook | 3 anchors | Easy | Hesitating on the middle anchor |
| Ice Shelf Crossing | 4 anchors | Medium | Missing the final anchor swing |
| Summit Face | 5 anchors | Hard | Running out of stamina mid-sequence |
The Ice Shelf Crossing is the most technically demanding section of the climb, because it requires you to chain four grappling hook swings across a gap that is too wide for a single jump. The key to this section is to maintain forward momentum rather than stopping to orient yourself after each swing. Players who stop to look around will find that the wind gusts push them off course, and the resulting fall costs them five minutes of climbing progress.
The Summit Face Sequence
The final anchor sequence on the Summit Face is the culmination of the entire climb, and it is also the section where most players fail on their first attempt. The sequence requires five anchors arranged in a vertical zigzag, with the final anchor sitting just below the summit ledge. The challenge here is stamina management, because the sequence does not include any resting points where you can stand and recover.
The optimal strategy is to chain the first three anchors quickly to build momentum, then pause briefly on the fourth anchor's ledge to recover about half your stamina bar. The fifth anchor requires a full stamina bar to reach, so this brief pause is mandatory rather than optional. Players who attempt to rush the sequence will find themselves hanging from the fourth anchor with no stamina left, and the resulting fall sends them back to the Ice Shelf Crossing checkpoint.
According to the official PlayStation page, shrines double as lookouts, and the summit shrine is the highest such lookout in the game. The shrine at the summit grants a permanent buff to your climbing stamina recovery, which makes future climbs of any mountain in the game noticeably easier. This buff is the main reason why the climb is worth doing even if you are not interested in the vantage points or the view.
Vantage Points and Fast Travel Unlocks
The summit of Mount Yotei is home to the most valuable vantage point in the game, and activating it reveals a massive portion of the northern map that remains hidden from ground-level exploration. The vantage point mechanic works similarly to the guiding wind system, where you use the spyglass to mark points of interest from high ground. The summit vantage point is unique because it reveals fast travel locations that are not visible from any other vantage point in the game.
The Ghost of Yotei fast travel points unlocked from the summit include the Northern Slope Camp, the Frozen Lake Hut, and the East Ridge Outpost. These three locations are spread across the northern map and serve as essential hubs for exploring the snow-covered regions. Without the summit vantage point, reaching these areas requires a long overland journey through dangerous territory, which is why the climb is considered a prerequisite for efficient northern exploration.
| Vantage Point | Location | Unlocks | Value |
|---|---|---|---|
| Summit Peak | Mount Yotei summit | 3 fast travel points | Critical for northern map |
| Caldera Rim | Western rim above lake | 1 fast travel point | Convenient for repeat climbs |
| Toya Shore | Northeast lakeshore | 2 fast travel points | Early game convenience |
The spyglass mechanic at the summit works differently from ground-level vantage points, because the altitude gives you a much wider field of view. You can mark up to five points of interest from the summit, and the game's guiding wind system will then direct you to each marked location in sequence. This makes the summit an ideal starting point for a northern exploration run, since you can plan your route before descending.
Players who want to optimize their exploration efficiency should check the all fast travel locations guide for a complete breakdown of every fast travel point in the game, including the ones that are easy to miss. The summit unlocks are the highest-value fast travel points in the northern region, but they are not the only ones worth pursuing.
Using the Guiding Wind for the Descent
The descent from the summit is often more dangerous than the climb, because the game's camera angles and the steep terrain make it easy to misjudge a jump. The guiding wind system is your best tool for a safe descent, because it points you toward the nearest fast travel point or marked location. When you activate the guiding wind at the summit, it will direct you toward the Caldera Rim camp, which is the closest fast travel point.
The descent route follows a different path than the climb, using a series of natural ramps and ledges that are not marked with grappling anchors. This is intentional, because the game wants you to experience the mountain from a different perspective on the way down. The descent takes about half the time of the climb, assuming you do not stop to explore the side areas that contain collectibles and hidden shrines.
Players who want to improve their vantage point usage should consult the vantage points and guiding wind guide for advanced techniques on marking multiple targets and planning efficient exploration routes. The summit vantage point is the best example of how the system works at scale, but the same principles apply to every vantage point in the game.
Advanced Climbing Techniques and Tips
The Ghost of Yotei how to climb the mountain question has a straightforward answer for the main route, but advanced players have discovered several techniques that make the climb faster and safer. These techniques are not documented in the game's tutorial, and they were discovered through community experimentation in the first weeks after launch.
The anchor cancel technique is the most important advanced trick, and it involves canceling the grappling hook animation early to preserve momentum. When you grapple to an anchor, the game plays a short animation where your character pulls themselves up and stands on the anchor point. If you press the jump button during the final frames of this animation, you can launch yourself off the anchor with extra height and distance. This technique is essential for skipping the brief pause that normally occurs at each anchor, and it can shave up to 30 percent off your total climb time.
| Technique | Difficulty | Time Saved | Risk Level |
|---|---|---|---|
| Anchor Cancel | Medium | 30% | Low |
| Wind Gust Surfing | Hard | 15% | High |
| Stamina Recovery Glitch | Easy | 10% | Medium |
The wind gust surfing technique is riskier but can save time on the upper ice band, where strong gusts blow across the mountain face. If you time your grapple swing to coincide with a gust, the wind will carry you further than a normal swing, allowing you to skip one anchor in the sequence. The timing window is tight, and a mistimed swing will send you careening off the mountain, but players who master it report significant time savings.
Stamina Management Strategies
Stamina management is the core skill for the Mount Yotei climb, and the difference between a successful ascent and a frustrating fall often comes down to how well you manage your stamina bar. The game's stamina system drains continuously while climbing, but the drain rate varies depending on the surface type and your current activity.
The resting technique is the simplest way to manage stamina, and it involves finding small ledges where you can stand and recover. These ledges are not always obvious, but they are placed throughout the climb at regular intervals. The key is to plan your route so that you reach each resting ledge with at least 20 percent stamina remaining, because the final approach to each ledge requires a burst of climbing speed.
Players who want to improve their overall combat and traversal skills should check the combat guide for tips on how the stamina system interacts with combat, since the same stamina bar is used for both climbing and fighting. The climbing-specific upgrades are separate from combat upgrades, but the two systems share the same underlying resource.
Frequently Asked Questions
What is the fastest way to reach the Mount Yotei summit?
The fastest route uses the Caldera Rim camp fast travel point, then follows the western anchor sequence up the mountain face. With the anchor cancel technique and full stamina upgrades, experienced players can reach the summit in about 15 minutes. The route requires the grappling hook and at least two stamina upgrades to complete efficiently.
Where is the Ghost of Yotei Lake Toya location?
Lake Toya is located in the western region of the map, directly at the base of Mount Yotei. The lake is a caldera formation, and its northeastern shore is the primary starting point for the mountain climb. The Toya Shore fast travel point provides the most convenient access to the lake and the climb's first anchor.
How do I unlock the fast travel points on the northern slopes?
The northern slope fast travel points are unlocked by activating the summit vantage point on Mount Yotei. Use the spyglass at the summit to mark the Northern Slope Camp, Frozen Lake Hut, and East Ridge Outpost. Once marked, these locations become available as fast travel points on your map.
What gear do I need for the Mount Yotei climb?
You need the grappling hook, at least two stamina upgrades, and the reduced cooldown upgrade for the grappling hook. The traveler's outfit is recommended for its stamina drain reduction, and you should carry at least five healing items for fall damage. The climb is not combat-heavy, so combat gear is optional.
Can I climb Mount Yotei early in the game?
You can reach the lower and middle bands immediately, but the upper ice band requires the grappling hook upgrade unlocked via story progression, making the full summit available around the game's midpoint. Attempting early leaves you stuck at the Ice Shelf Crossing checkpoint, so prioritize the main quest first.